
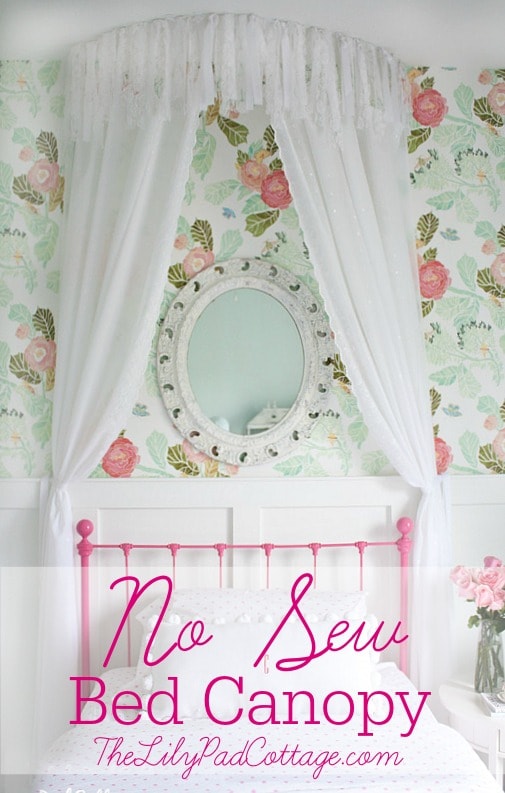
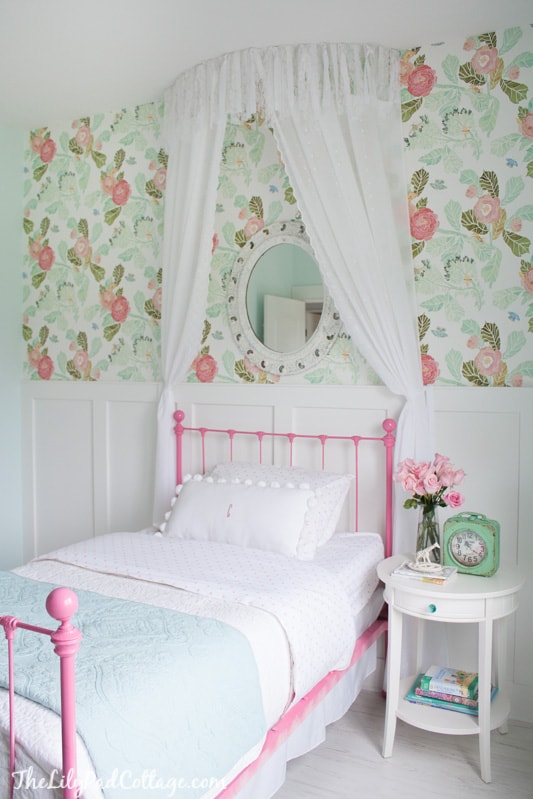
No Sew Bed Canopy
WARNING: This tutorial is a complete re-enactment, the materials are real, the actors are fake, and the end results are fab.
Ok, ok so we all know I’m not the best at writing tutorials, mainly because I always forget to take photos of the process.
Mainly because I’m too busy winging it anyways, and I have no idea what I’m doing, so telling others how to do whatever crazy thing I’m doing seems kind of hilarious anyways.
BUT I’m going to try my best to explain this easy No Sew Bed canopy I made for my girlie’s room since I have had a few emails begging me to share. I didn’t take any photos along the way, so I tried to go back and take photos to help it make sense, hence the re-enactment warning at the top of the post.
Now that I have made this sound extremely difficult for no reason at all, other than to babble on like I normally do at the beginning of a blog post – here are the things you will need :
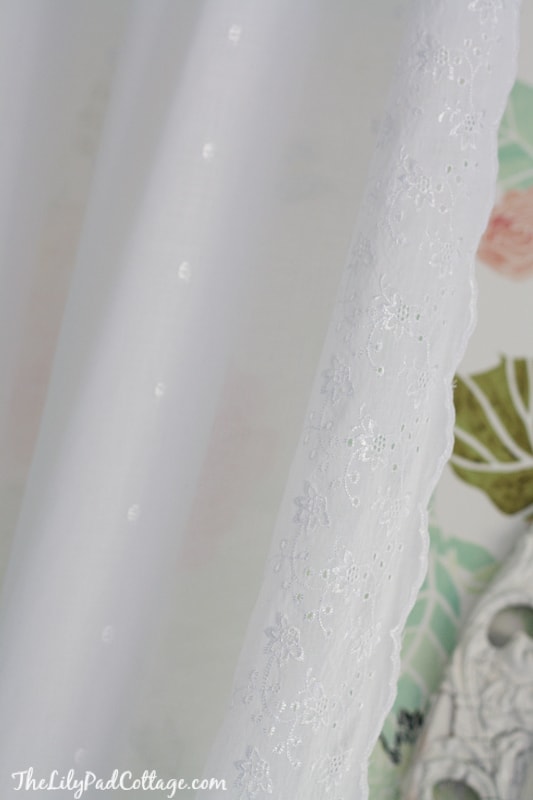
6 yards of fabric, a thinner sheer polka dot fabric with a lace edge – the lace edge means no hemming!(depending on your ceiling height you may need a bit more or less, mine are 9 ft)
1 1/2 yards of lace fabric
a roll of white grosgrain ribbon
staple gun
hot glue gun
colored chalk
So you all know I hate to sew and I could probably build an entire house with hot glue and staples so I figured this canopy should be no different.
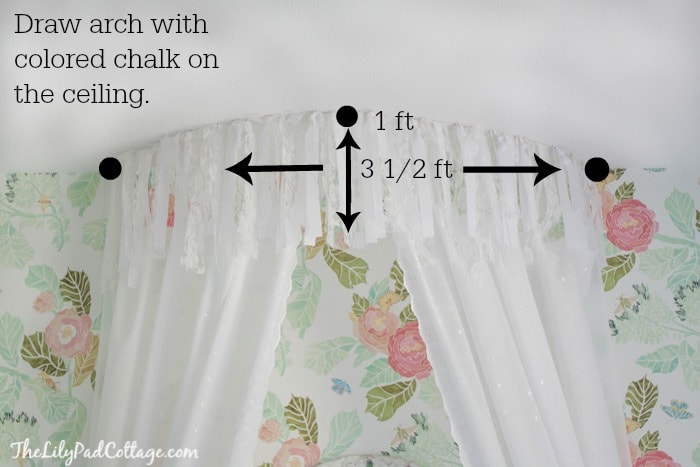
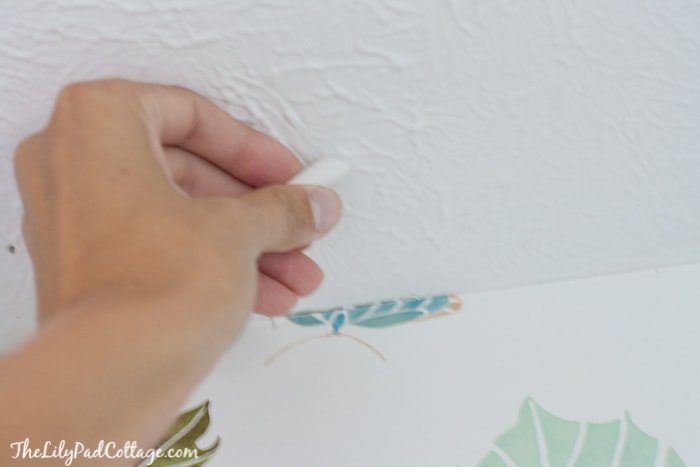
1. First step is making an arch on the ceiling to follow. I determined I wanted the canopy to come out 1 ft over the bed and about 3 1/2 ft wide. So I made 3 dots on the ceiling with color chalk and sketched an arch from those dots. It doesn’t have to be absolutely perfect, mine wasn’t, once the canopy is up you can’t really tell.
Did I say colored chalk? Well re-enactment remember! I couldn’t find the blue chalk back I used, so just pretend with me.
2. Cut your fabric in half, I used 3 yards on each side because I wanted them to pool a bit at the bottom of the floor. I left a 1 ft gap at the top because I wanted the shabby knotted ribbon look at the top, but you could totally skip these steps and use more fabric and just staple that directly to the ceiling. I’m getting a head of myself again (see tutorials – not my forte).
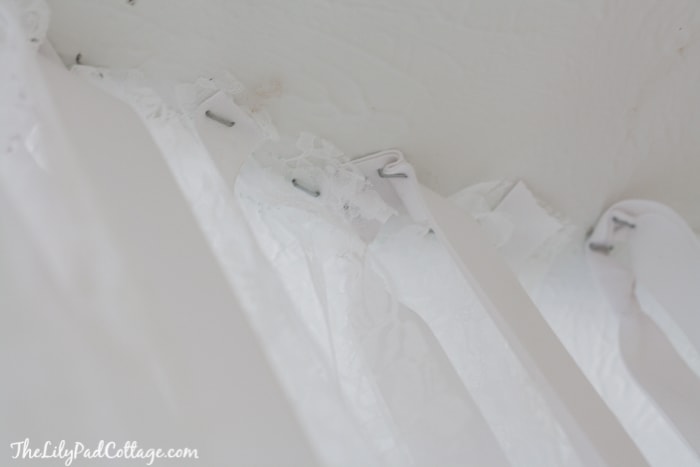
3. Hot glue 18 inch sections of white ribbon at evenly spaced intervals along the top edge of your fabric. I think I used about 8 per side.

4. Measure up 12 inches of the ribbon (I just eyeballed it, you know I don’t actually measure things!) and staple it up to the ceiling around your arch you drew. I know some of you are thinking just staple it? Well, it seemed the easiest to me and it has been holding now for 3 months with no problems. Plus when she is sick of it the holes it will be easy to cover up.
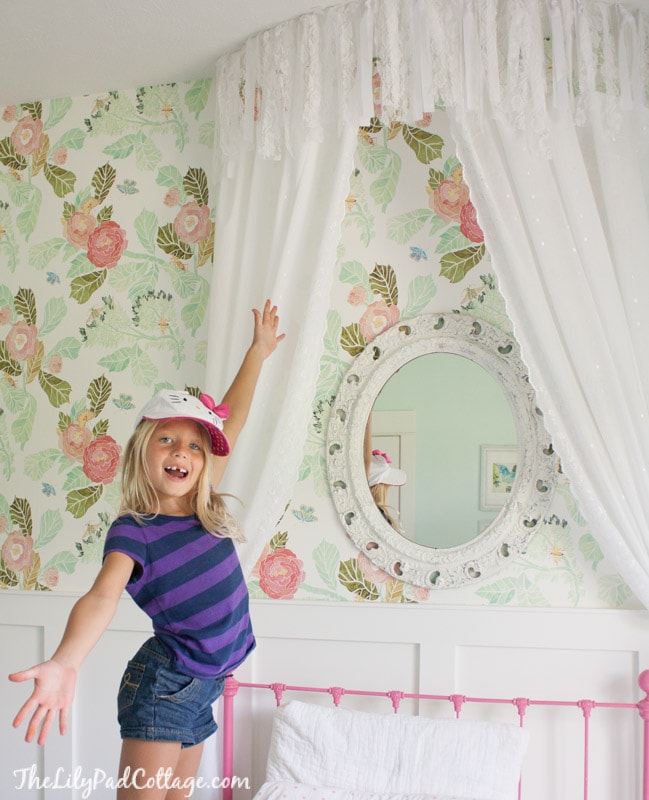
5. Now you have your 2 panels hanging from the ceiling. I cut the lace fabric I bought into long thin strips and tied them in knots at varying lengths. Then I stapled those to the ceiling on the inside edge of the canopy, along the arch to fill in the empty spaces.

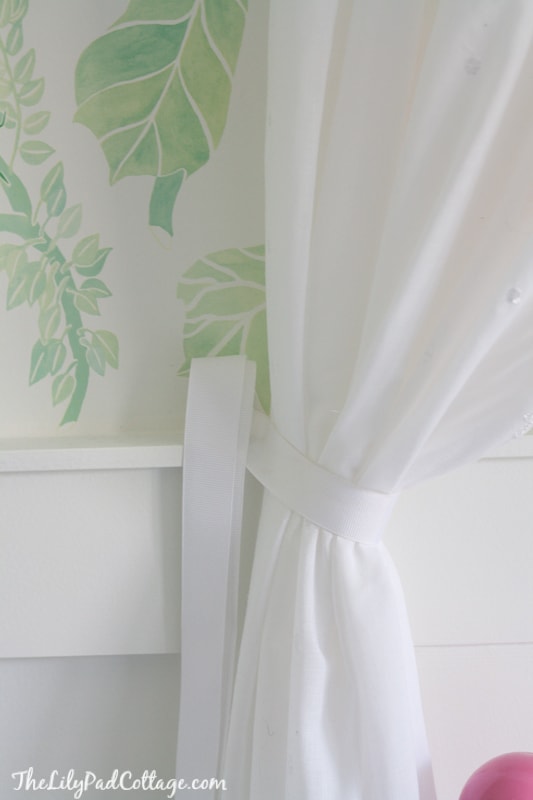
6. Draw your curtains back on the sides with an extra piece of ribbon and zhussh (soosh? zuzch? not sure the spelling on that, but imagine me doing my best Zsa Zsa Gabor accent and saying zsooosh dahling, zsoosh!) the fabric a bit til you get the look you want.
7. Do your best Vanna White impression (albeit a toothless Vanna White) and enjoy!
Does any of this make sense? I know I’m making sound harder than it is, basically draw an arch, hot glue, staple and you’re done!


Hey! I seriously love this! Thanks for sharing. Where did you buy your fabric?
Thanks so much,
Kristina
Hey Kristina, the fabric is from JoAnns!
Please tell me where I can get this wallpaper & the name of it! NEED!
♡Thank you
Hi Angela it’s from Anthropologie, I think they still have it? It’s something peonies I believe? Thanks!
May I ask if that’s wallpaper or fabric and where did you get it?? Lol
Hi Cassy it was from Joann Fabric just ask them where you can find eyelet lace and you should be able to find something similar.
You are definitely my kinda decorating guru!
No sew all the way! Thanks Christina
This is so lovely! I’d love to make it for my little girl. Just wondering what are the curtain panels attached to? It sounded like they are one foot below the ceiling, but how do they stay up? Are they glued or attached to the knotted ribbons somehow or did I misunderstand this? Thanks in advance!
Love the room! Can you tell me where you bought the wallpaper? Thanks!!
Beautiful! My daughter would love this above her bed, and I would, too!
Ok so apparently we were on the same wavelength as of late creating a no sew canopy of sorts – love yours!! Mine is portable and used safety pins instead of staples but I think they are in the same class of easy, cheater DIY components, don’t you? Happy day to you!!
Staples! I’ve been wondering how you put it up there. And why have I never thought to use chalk!!??!!
The room is adorable but I can’t believe your little girl is getting so big –waaah!! They grow up too fast. You did a good job on the room and the tutorial.
This turned out great! And I love the toothless Vanna!!
The whole thing is so cute and pretty who cares about a tutoral?
You are my kind of girl ha!
so cute bedroom, like a princess :D
Anna
Thanks Anna!
Love what you’ve done here. Where’s there’s a will there’s a way – love your DIY attitude. Your girl is very lucky to have a mamma like you
Thanks Denise, I’m lucky to have her too :)
I love it, how fun and your daughter is adorable.
Thanks Marty, ah she is getting so big!
Looks great Kelly! And that wallpaper is divine. You have one very lucky little girl. Best wishes, Julie
Thanks Julie! She does love her room and her friends come over all the time and tell her they want to move in ha :)