
How to install Laminate Flooring
Disclosure – I received product for this post from Armstrong Flooring, but all opinions are my own.
This past weekend the Mr. and I installed our new white washed laminate flooring in our sunroom and I’m totally in love with it. Like, the Mr. has walked in on me several times lying in the middle of the floor just petting it lovingly, in love with it. He may be getting jealous at this point! It was SO easy to install and the results are beautiful.
We used Forestry Mix in White Washed by Armstrong Flooring, not only is it the perfect rustic white washed wood look I was going for, but it is going to be so much more durable than real wood would have been.
Laminate flooring is getting soooo cool you guys! They have so many different patterns and textures now, I love that you can really achieve a rustic vibe, old barn wood look, or distressed finish.
Armstrong has a collection of laminate flooring that helps you get that high end designer hardwood look, but without the price. The flooring I chose was from their Rustics Premium Collection, but I almost chose one from their Architectural Remnants collection, there are so many amazing options that offer the depth and texture of real reclaimed wood, I had a hard time choosing which one to use!
Architectural Remnants comes in several different designs and eight colors, and also comes in varying sizes too. The collection includes:
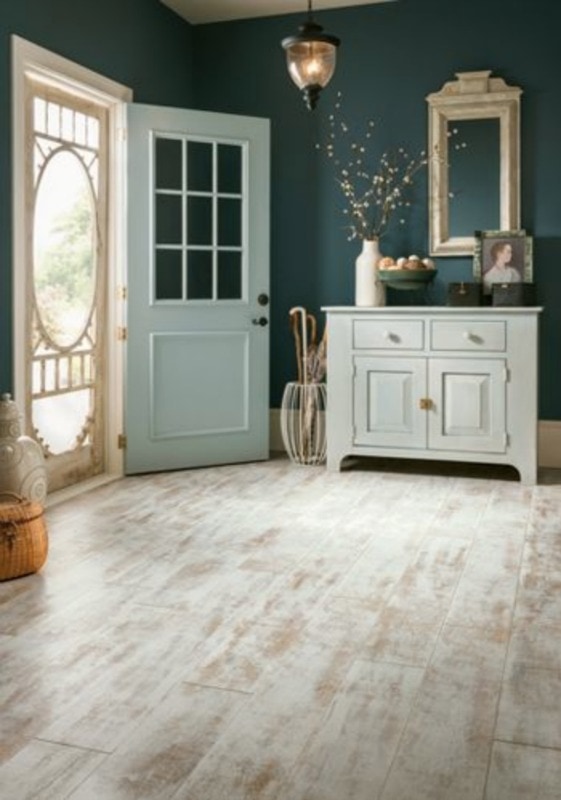
ANTIQUE STRUCTURE – a natural-looking reclaimed wooden floor with distressed and worn white paint
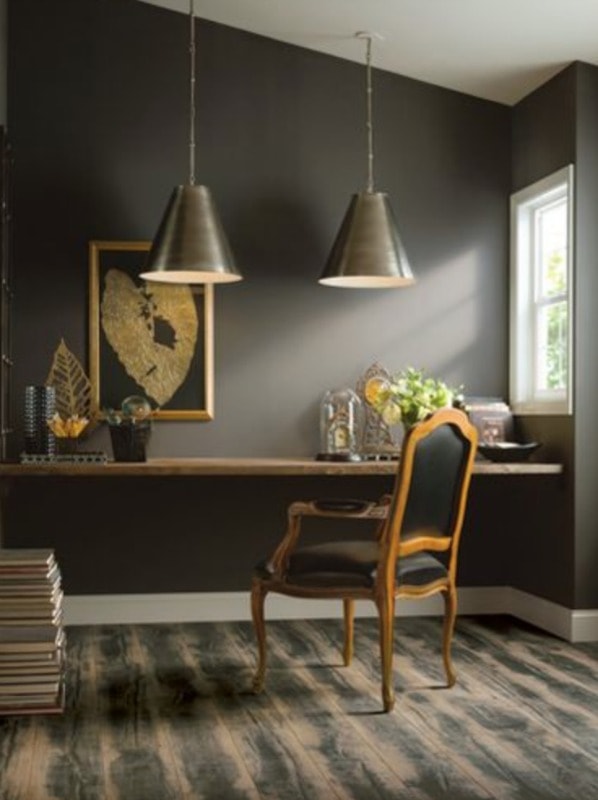
SKIP PLANED – created by the effects of textured sanding
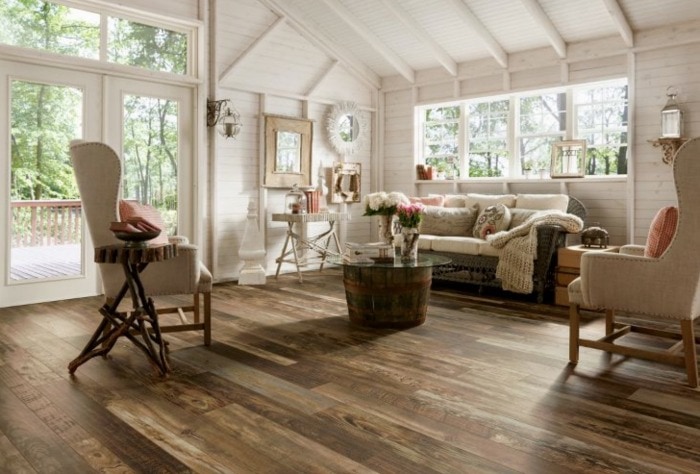
and WOODLAND RECLAIM – which brings together multiple species of wood, in multiple widths (I can’t even tell you how bad I want to rip out our real wood flooring in our house an put this in, it’s so gorgeous!)
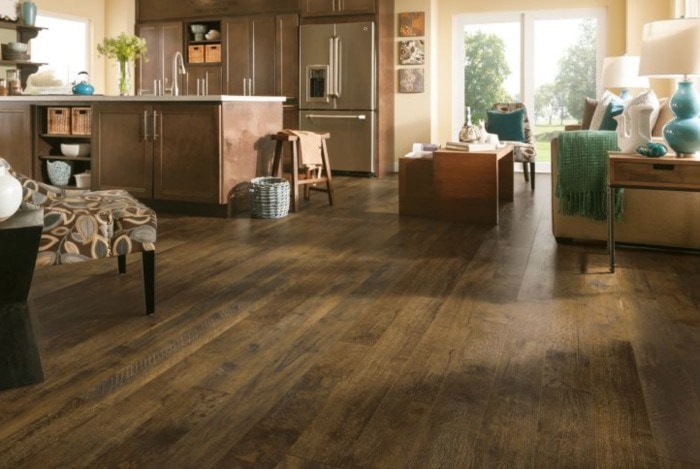
Like I said I had a hard time choosing, I also loved the Rustics Premium Collection and ultimately chose my flooring from that collection. Here is my same flooring, but in a darker wood tone –
FORESTRY MIXED BROWN WASHED
I know this floor is going to hold up with our kids and dog running around because it comes with VisionGuard™ Plus, a wearlayer, to protect it from staining, fading and wear-through. The other thing I love is that both Rustics Premium and Architectural Remnants totally feels like solid wood under your feet. The floors are 12mm thick and have a special HydraCore to make them feel more stable. This is not your mamma’s laminate flooring!
The Lock&Fold® installation was so easy and fast, seriously anyone can do it! It only took us about 4 hours to do this whole 14 x14 room now I’m tempted to rip all the carpet out of my house and put laminate everywhere! And with the 50 year warranty why not? This is the point at which the Mr. gives me the stink eye…
Here let me show you how easy it was to install!
STUFF YOU’LL NEED –
Saw
Exacto knife
Underlayment
Flooring
Your own two little hands
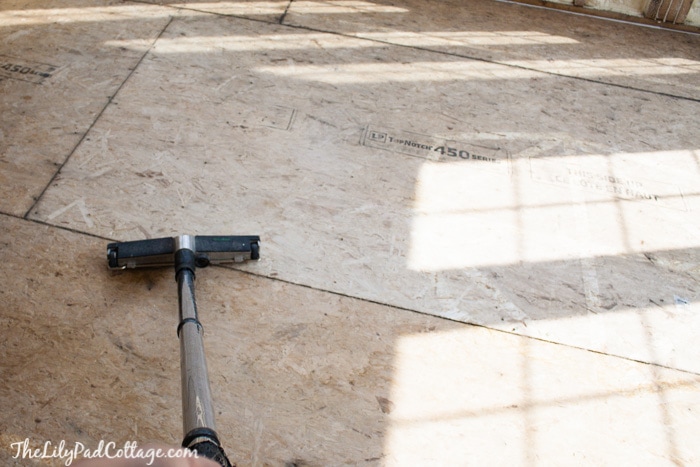
STEP 1.
Prepare your subfloor by sanding any rough/uneven areas, checking that all nails are properly sunk, and vacuuming. You want a nice clean and even surface.
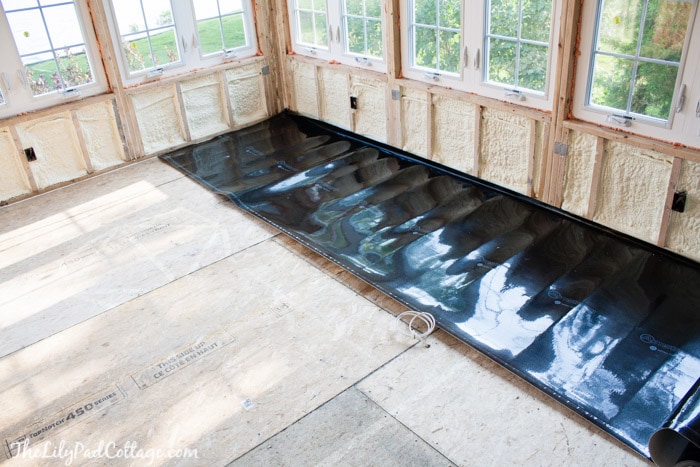
STEP 2.
Unroll the first row of underlayment over your floor, trimming at the edges with a knife. Make sure you get it nice and smooth.
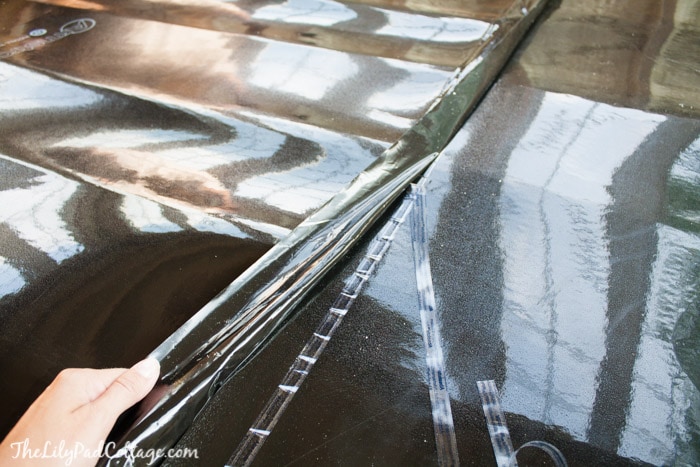
STEP 3.
Unroll your next piece of underlayment and bump it right up to the edge of the other piece, making sure they don’t overlap. Our underlayment came with tape already stuck to it, so we just had to peel it back and stick the 2 pieces together – so easy!
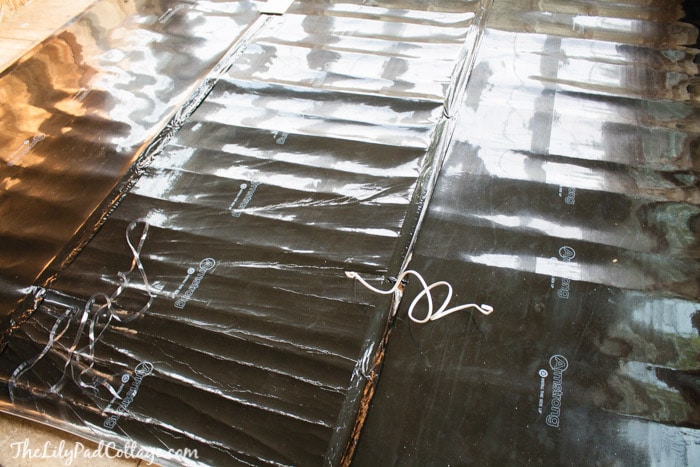
STEP 4.
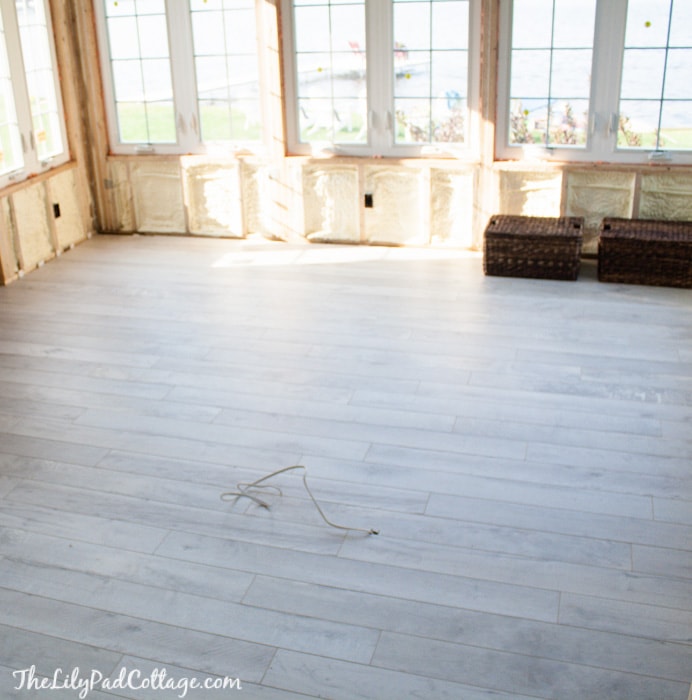
Repeat the above steps until your entire floor is covered and smooth. We had to cut a little hole in ours to let that white wire thru that you see, since we will have an outlet in our floor.
STEP 5.
Lay out your first row of boards with the lip facing the wall, leaving 1/4 inch of space for expansion. We made some spacers out of a few pieces of scrap moulding we found in the garage, but you could just buy spacers too. Make sure you are pulling pieces from at least 3 boxes of flooring at a time, so that you are getting a unique and random look.

STEP 6.
Use your saw to cut the last piece of flooring to fit the first row in your space. Being sure to make your cut on the backside to avoid marking up the finish.
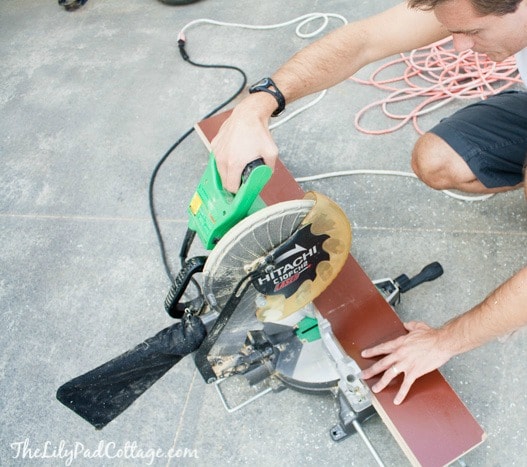
STEP 7.
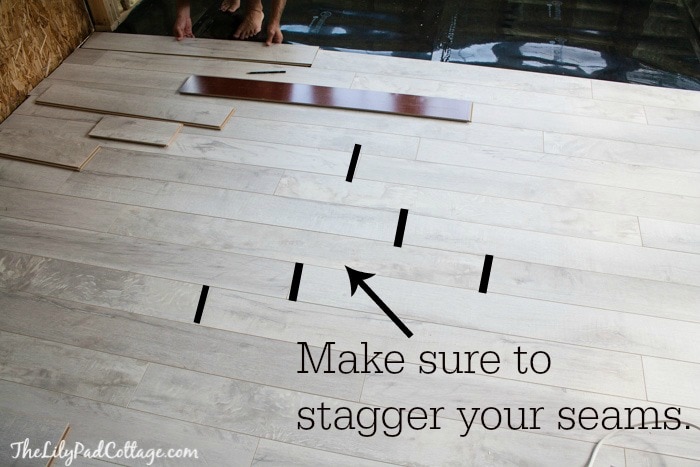
Now to start your 2nd row, cut your first piece so there is at least an 8 inch overlap to give you a nice random brick like pattern. Now slide them together and snap!

STEP 8.
Continue snapping your flooring in, being sure to keep your intervals a bit random to get that real wood flooring look.
STEP 9.
Step back and enjoy your gorgeous floor!
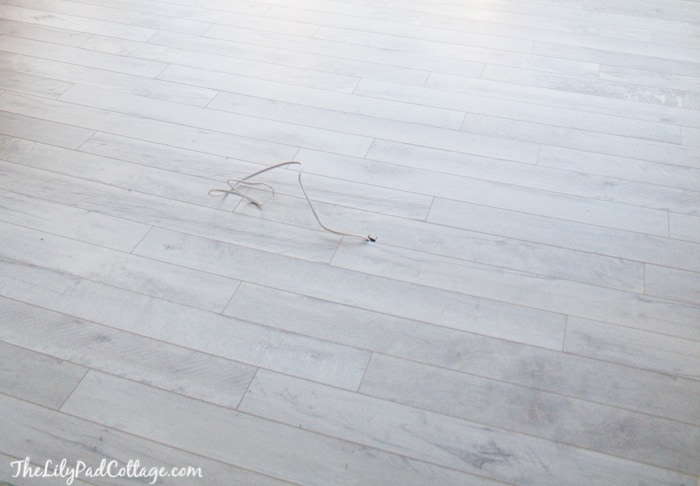
Totally love it! I’ll be sharing better full floor reveal shots soon, once we get all the baseboards and trim on so you can really see how beautiful it is.
Are you ready to try your hand at your own laminate flooring? You got this! Be sure to check out all of Armstrong’s laminate flooring options. Or to find a retailer near you, so you can see the gorgeousness in person click here.
You can also check out more detailed instructions on how to lay your flooring right on their site here.


Just seeing this and am about to do a sunroom. I think I have my answer to what flooring!!
That’s assuming you still love it?
We don’t actually live in this home anymore but I still love the look – thanks!
Wow, you did a really impressive job! I looks just like wood but will be durable and laminate also tends to be affordable.
Your new floor looks amazing! I have Armstrong flooring bookmarked for when we decide to tackle our master and guest bedroom. Just gorgeous!
Looks perfect Kelly! I have to tell you I was looking at your beautiful home a few nights ago and my husband looked over my shoulder and saw your bathroom window view and said “that’s it! we’re selling our house and moving to a lake.” So don’t be surprised if we show up as new neighbors. ;)
We can solve that Erin! We’ll just trade houses! Deal? No? Ok well just laundry rooms then? :) Maybe you just need a Michigan summer home…
Love how this turned out! Such a great look for your sun room!
Looks great! Can’t wait to see the whole room.
We recently finished our kitchen. Unfortunately we need to hold off before we put in new floors through out. We are looking at real wood, Armstrong laminate and Pergo. Your choice is perfect. I would love to see it in person. I’m looking forward to seeing the room finished. Lots of photos please.
I can’t recommend the laminate enough! We have real wood in the rest of the house and it is soooo scratched and beat up, I love how durable the laminate is. There will definitely be at least a million photos taken when we are done :)
I looks fabulous and I love the color for the sunroom. So pretty.
Thanks Marty, I just love all of the Armstrong flooring choices – they are so beautiful!
Gorgeous flooring! Great job and thanks for the tutorial!
Thanks it really was so easy!
Looks fabulous !! Great job! Can’t wait to see the room completed!
We are getting so close!
It looks fantastic! I can’t wait to see the finished deal. How were you able to work four hours without a little help from the kidlets? We will be redoing our kitchen floor but we are going with tile. I DO love the look and warmth of wood.
Bedtime! Thank goodness for all those extra hours of daylight in the summer, my kids go to bed at 7 so we were able to have a “date night” and get it all done ha :)
WOW! This looks fabulous! I love the flooring you picked out & what a fun color for your Lake House!!!
I love your style!! Every time I read a post I want to redo my whole house to your cottage style!