
How to Replace a Drop Ceiling
The day has finally arrived! I’m sharing ALL the details of our new gorgeous planked ceiling in the guest cottage. This project was way easier than I anticipated. Below you can find all the info on how to replace a drop ceiling.
Let’s start with a look back on the stained, old, drop ceiling we had in the cottage before. It had definitely seen better days…
BEFORE

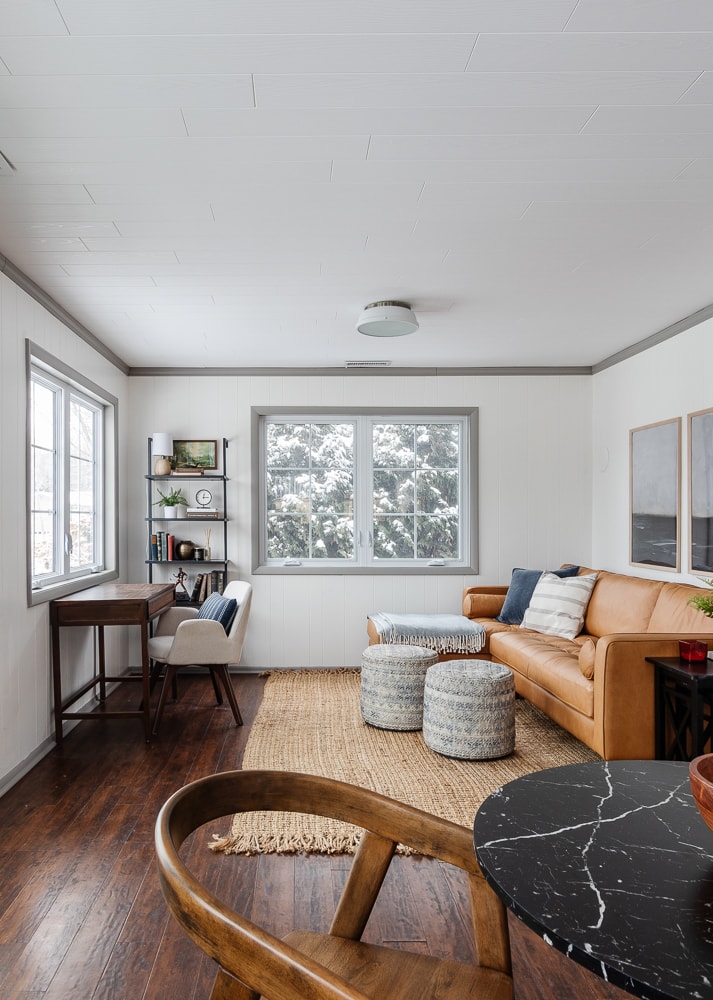
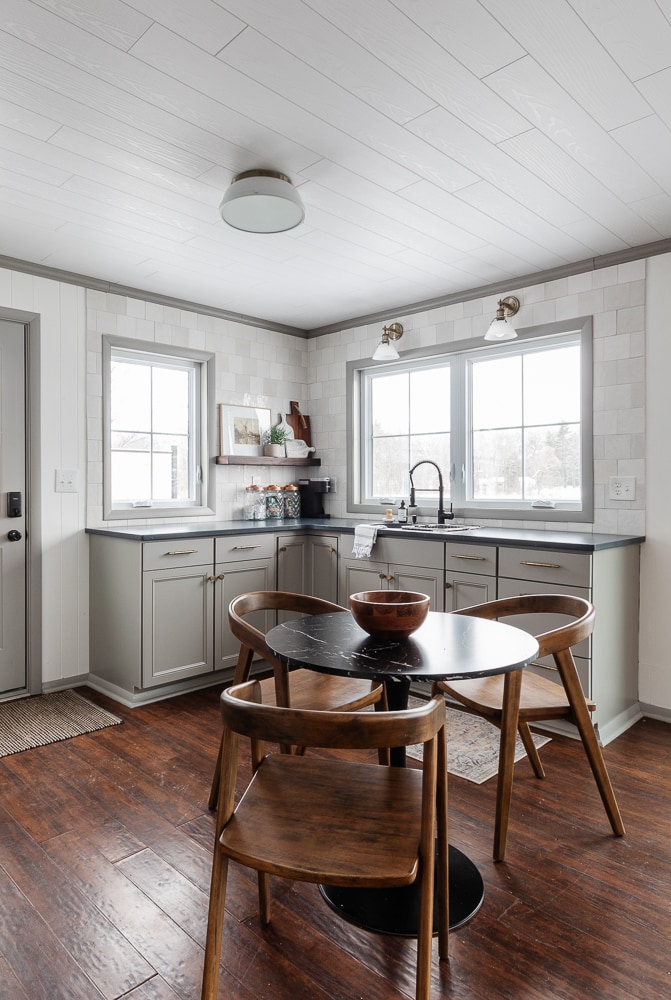
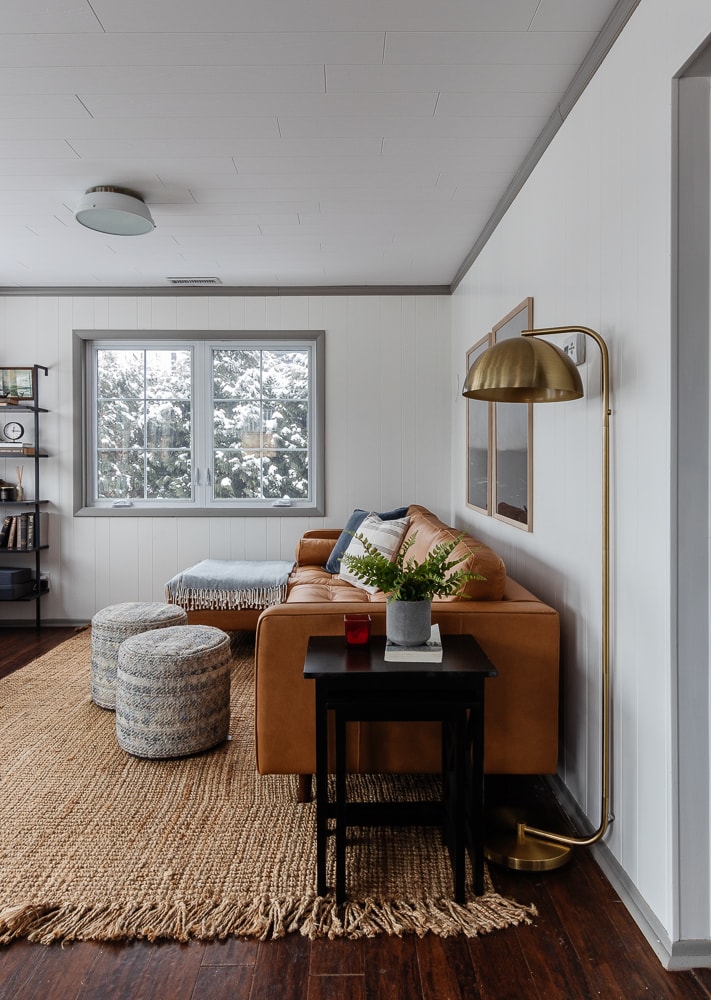
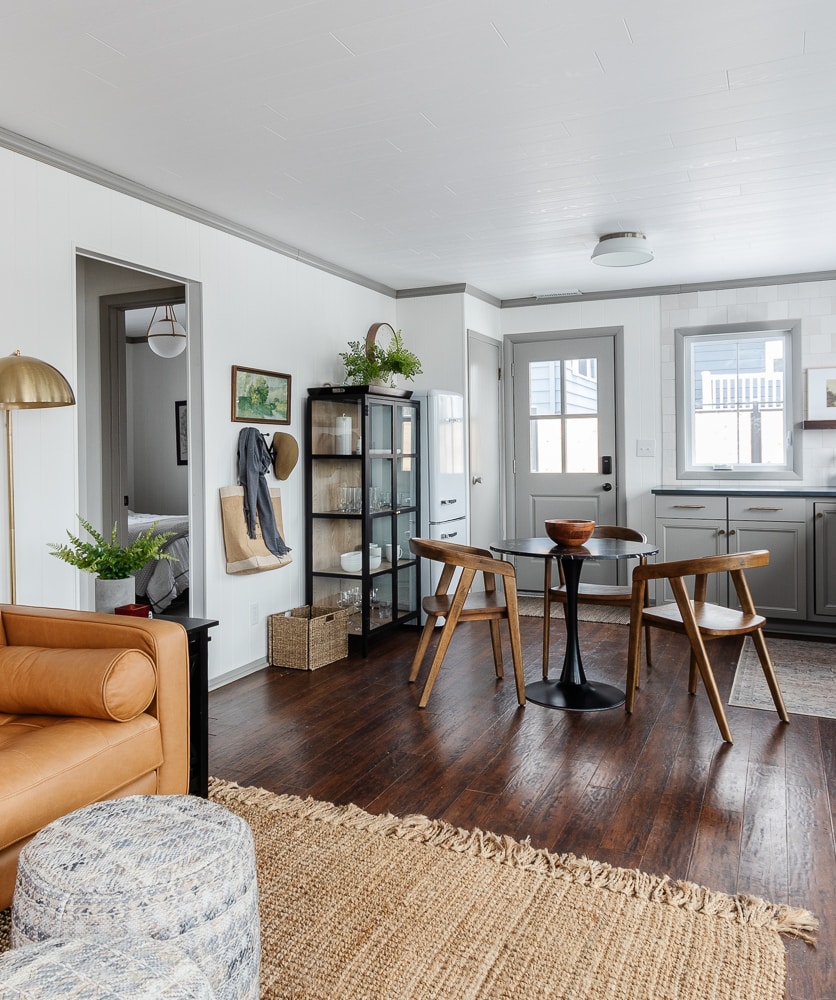
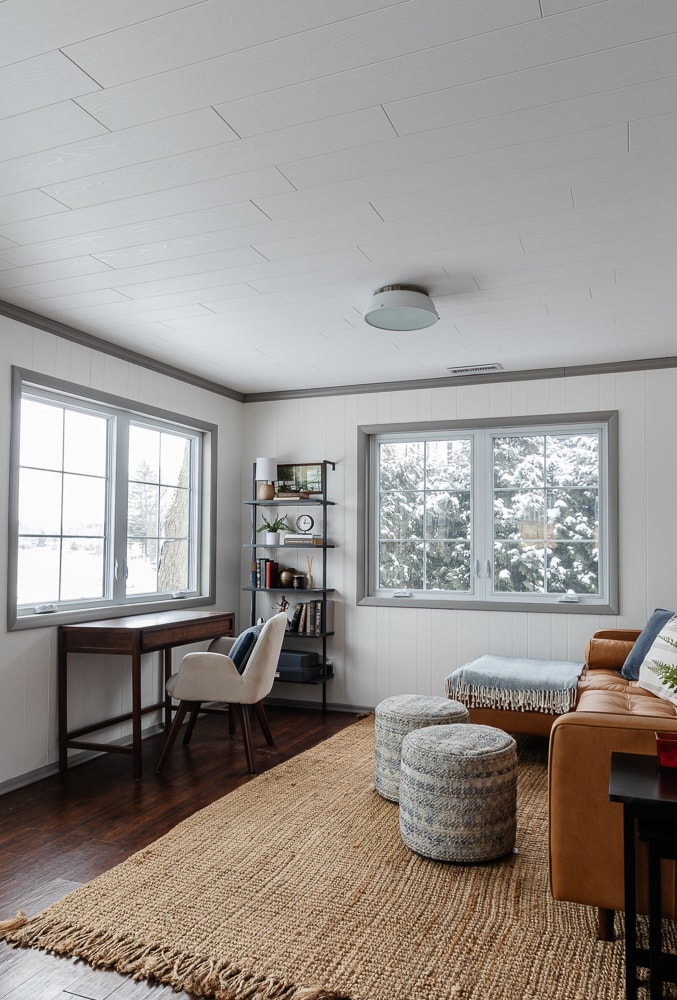
AFTER
I spent hours online searching for an easy replacement for a drop ceiling, and I came across Armstrong ceilings. I was thrilled that we were able to partner on this project together.
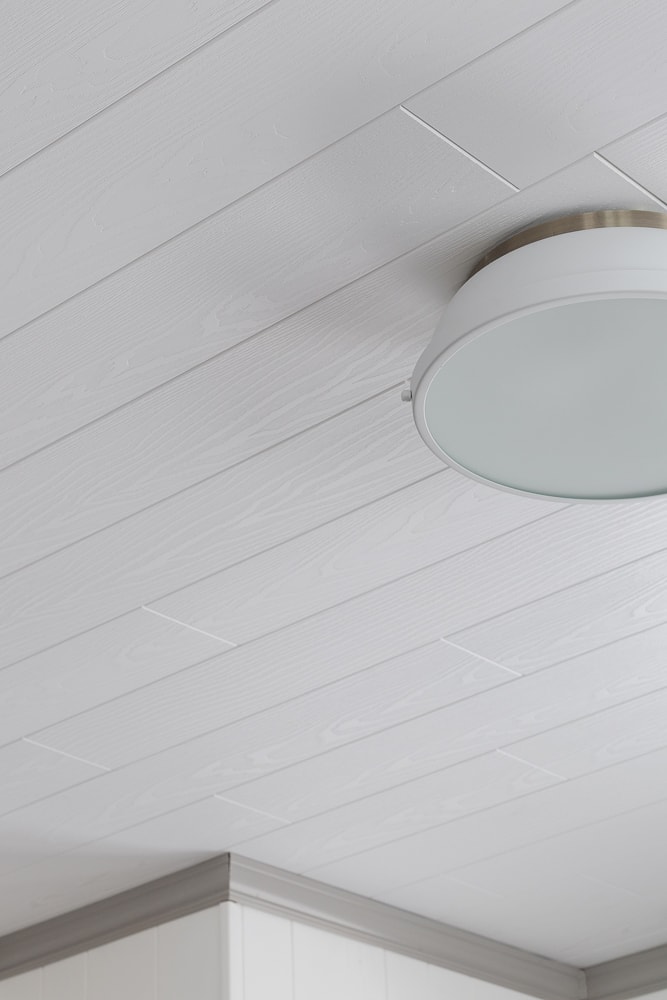
Armstrong offers a ton of different options to update an old ceiling, but I fell in love with the Easy Elegance Plank Woodgrain Ceilings. They look like real wood planks, but they are made out of PVC.

I loved the idea of the look of wood planking without the issues real wood can cause in a lakeside home.
Being right near the water, humidity is always a concern so this was the perfect product for our space. They are mold, mildew, and sag resistant.
Steps to Replacing a Drop Ceiling
- Remove old ceiling
- Install easy up metal rail system
- Measure and cut Armstrong planks to size
- Slide into place and secure with clips
- Lock the next row of planks into the previous row
- Secure with clips and repeat the process
- Be sure to stagger the flooring seams
- Finish the room off by adding crown moulding
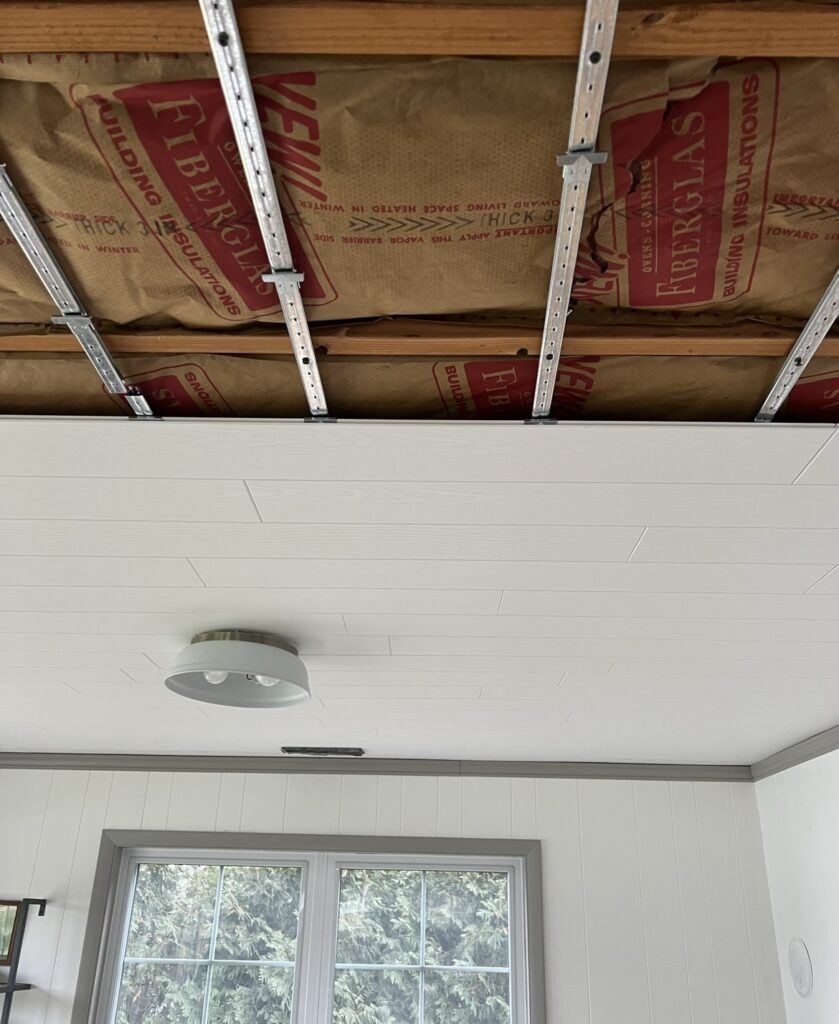
The Armstrong Easy Elegance Planks install on an Easy Up track system. Once we got going with it, installation was so easy! The first step is screwing these metal tracks all along the ceiling joists.

The Easy Up system then uses these metal clips to attach the planks to the tracks – no nailing or drilling. The planks are tongue and groove and snap right together. Then they are held in place by sliding the clips along the metal tracks, so they are snug with the edges. They slide together really easily.

If you have ever installed a laminate or LVP floor it installs pretty similarly. It’s basically an upside down floating floor.
The Mr. measured and cut all the end pieces, while I got in the groove and installed plank after plank.

We were able to finish the entire 600 sq ft cottage in 2 days!
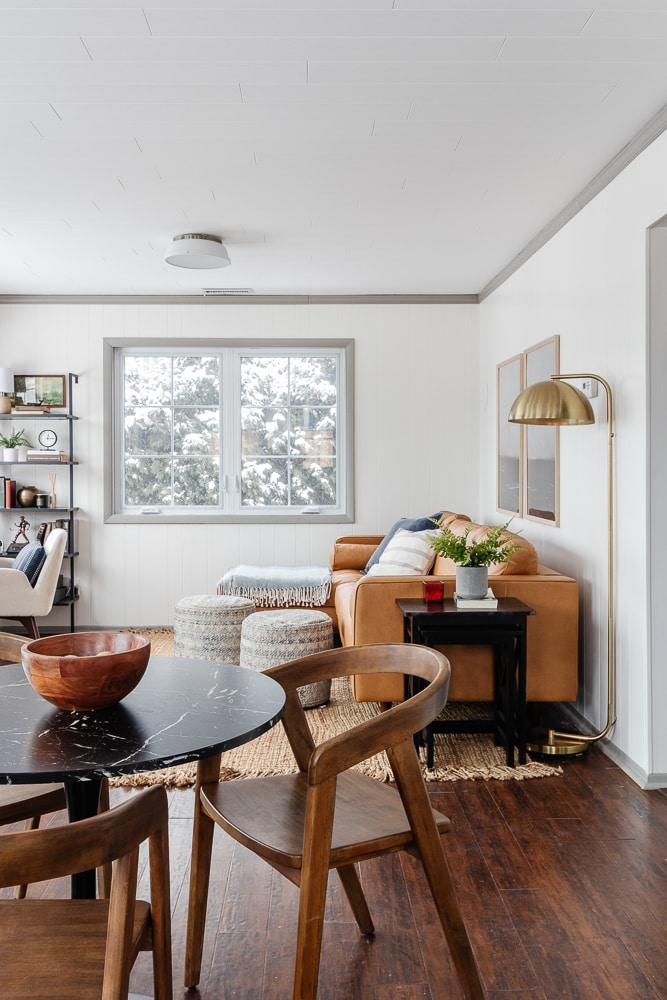
After we completed the ceiling, we added crown molding to finish off the edges.

I could not be happier with how it turned out! It looks exactly like the cottage-y wood planked ceiling I envisioned. Armstrong has so many great solutions for old drop ceilings. You can see more options on their site along with really helpful installation information and videos.
It looks like you have one ceiling mounted light. Was that already there, or did you pick lighting compatible with the Armstrong planks? Considering this fir our basement ceiling. It looks great! Thank you.
Since you used this to replace a suspended ceiling, what happens if you need to access HVAC, water or electric lines in the future? Do you have to take down crown moulding and planks to get to the proper utility?